Basic space configuration
For basic booking fonctions, you will have to activate and configure Clients module, Resources module and Booking module.
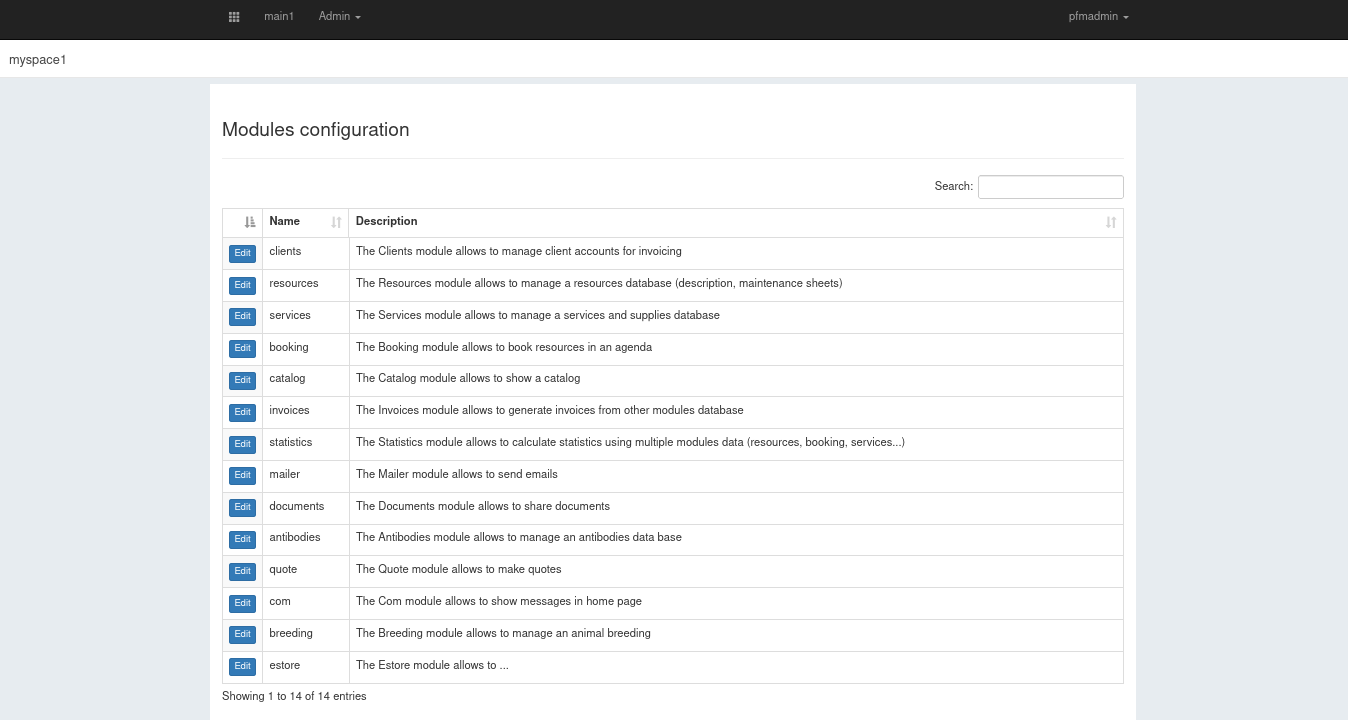
To activate a new module, go to Configuration module.

Then, click the Edit button of the corresponding module.

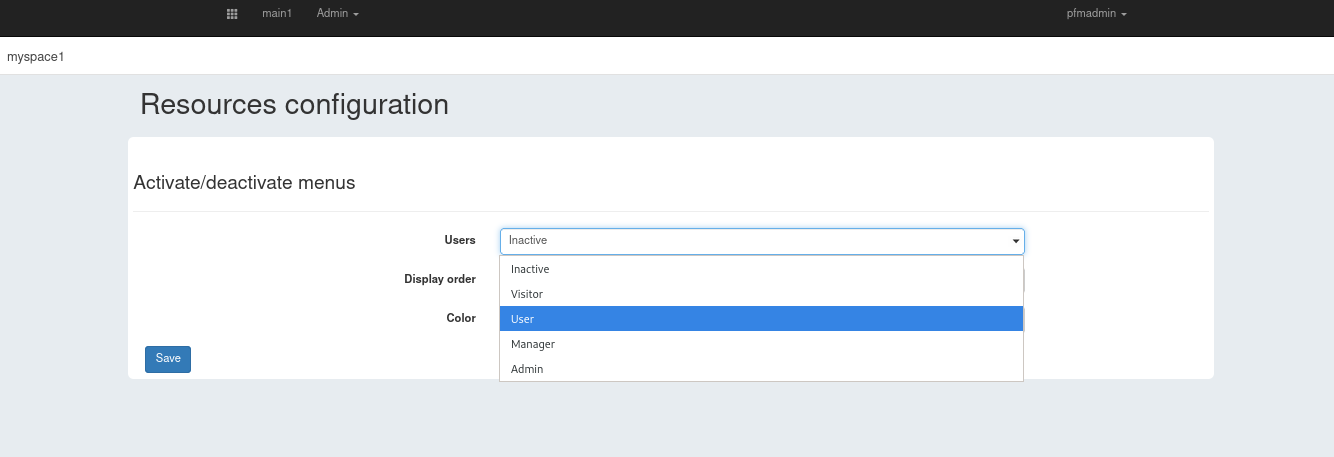
You have to set the Users selector to the lower role you want to grant access to this module. (i.e. if user is set, then, users, managers and admins will be granted access). Validate the activation by clicking save button.
This is the basic case. Some modules have more options. For more details, see modules.
When activating Booking module, don’t forget to activate Booking settings module (same screen), which will be needed further.
To simplify this first configuration, we’ll set Use authorisation visa to “no”. If you want to use visas, you will be able to come back here later.
Into a module configuration (i.e. Booking configuration in this example), you have to save each group of options you want to change (e.g “Activate/deactivate menus” and “Use authorisation visa” here).

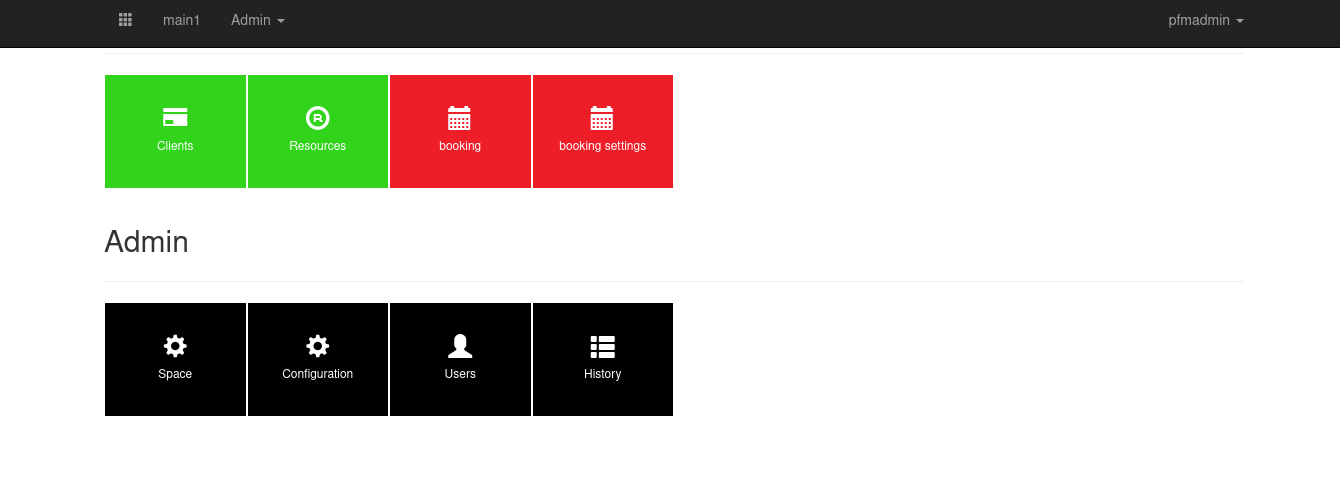
After having activated these 4 modules (including Booking settings), your space home page should look like this:

See Resources
You now have to identify your platform resources, their areas and categories, and create it in Resources module.
See Clients
To book a resource, In most cases, a user must be linked to a client. The client is the entity you send invoices to.
See Clients
One last step and you’ll be ready to make your first booking.
By default, users are not authorized to book resources. To make a user able to book a resource, you have to go into users module. Note that, since you have activated the Booking module a Booking access button is now displayed aside the users names.
See Users module
Go to Booking settings and add a color code by clicking the ‘+’ icon next to Color codes in the left side menu.
It is required in order to generate the booking view.

Now users should be able to book resources!